
If you have been driving to Malaysia a lot, you would have noticed on “VEP” stand board everywhere at the malaysia custom. I am sharing my experience in applying VEP in this post.
VEP is a permit issued by the Malaysia for foreign vehicle (aka Singapore Car) to enter to Malaysia. As of Apr 2019, it is not mandatory to have VEP to enter Malaysia and nobody will stop you from entering Malaysia if you do not have VEP. However, it is a matter of time and when they will enforce this rules in the future. Hence, if you have some free time and often drive to Malaysia, you may want to apply it earlier.
Step 1: Sign up account at JPJ website
Step 1: Sign up your account at JPJ website
Visit https://vep.jpj.gov.my and enter the details to sign up for an account to login
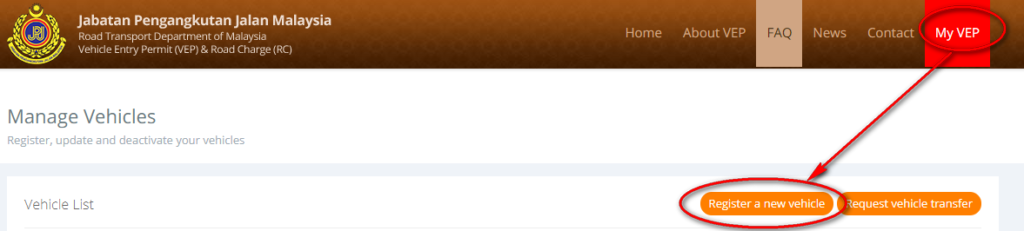
Once you have login, the objective is to register for a ‘vehicle’.
Under ‘My VEP’, click on register a new vehicle’ button.
Complete the information at one go. Take note that the server do get slow at time and you may need to restart the whole process. Try to do it at night where it is not so busy .
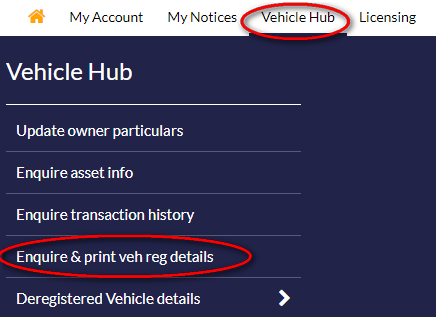
- For the vehicle details information, you can get it from onemotoring website (again, another login with your singpass) under the vehicle hub -> Enquire & print vehi reg details.
- Tips: Dont bother to use the upload function which the JPJ website says that it will populate whatever data you have download the vehicle details from onemotoring. I tried twice and it wont recgonise anything.
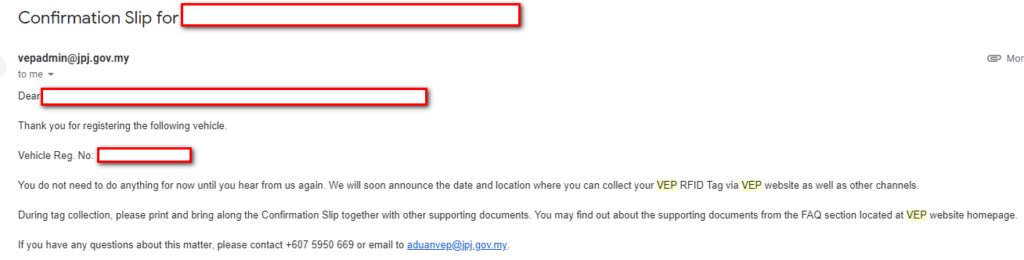
Once you have registered a vehicle, JPJ website will send you a confirmation email. At this point in time, just wait.
Step 2: Make appointment to collect VEP RFID Tag
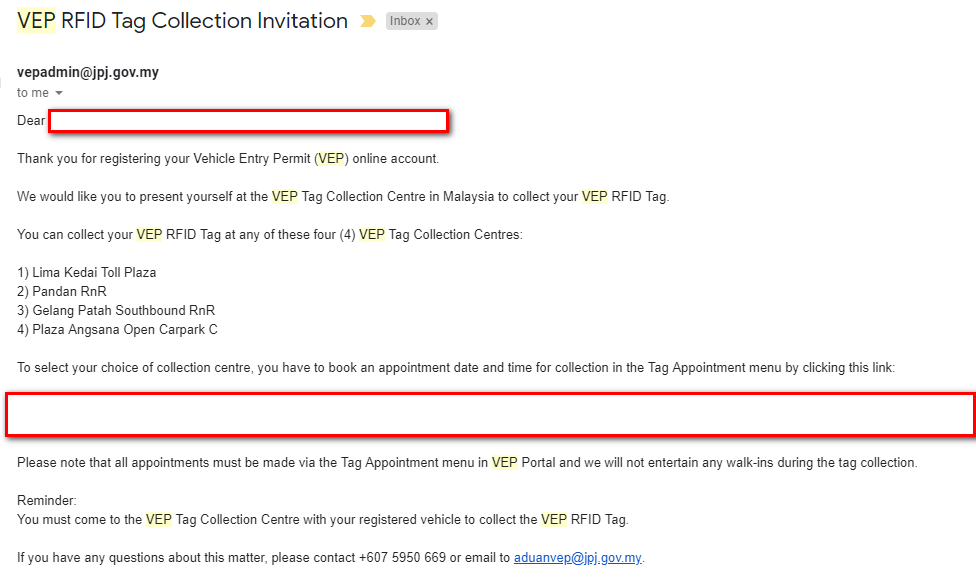
For my case, it took 18 calendar days for JPJ to send me an email to make an appointment to collect the tag. You show receive an email similar to the below.
Click on the link in the email and it will open the JPJ website.
Click on the timeslot and the location for collection . Generally it is available on all days from Mon to Sun (not too sure about PH), I opted for Plaza Angsana Open Carpark C. The appointment slot are 8am, 10am and 2pm.
Book the appointment and proceed to the next step
Step 3: Collect Your Tag
I opted for Plaza Angsana Open Carpark C. Not sure if the below process applies to other collection centre. Please comment if it’s different.
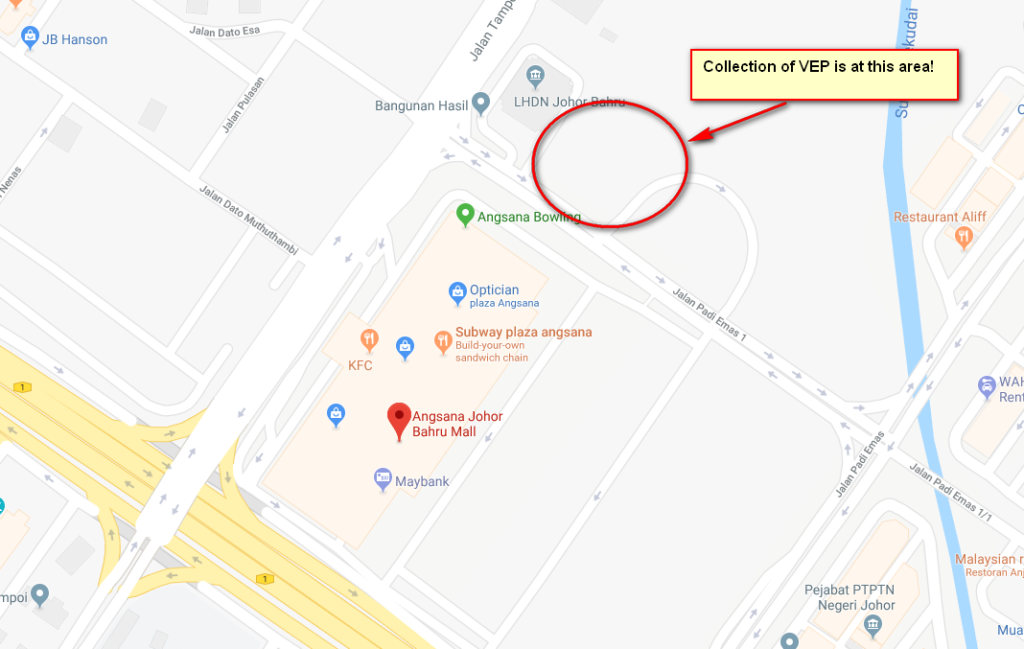
First of all, for those who opt for Plaza Angsana Open Carpark C. It is not at carpark premise in front of behind Plaza Angsana, In fact, it was opposite the Plaza Angsana and across the road. I paid a dearly RM1 for entering the carpark at Angsana mall. Coordinates is 1.496886, 103.707132 or google map link
The following photo summaries the collection procedure
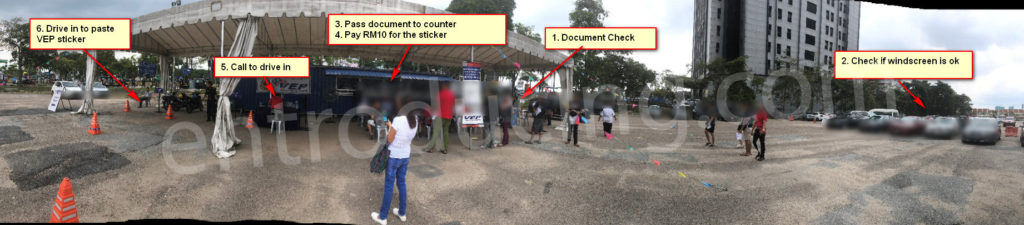
- Pass your documents (appointment, confirmation slip, passport photocopy, latest insurance note, vehicle details from LTA) to the counter to check. They will issue you a queue number.
- They will get someone to use a device to check if your windscreen is able to detect the RFID sticker from a distance.
- Once, 1 and 2 are OK, just wait for your queue number to be called up. When it’s called up, pass the document to the counter to check and then go back to sit
- About 5 to 10 mins later, they will call your number and pay the RM10 to them. They will pass you the RFID sticker. Go back to the waiting area and wait.
- The guy doing the installation will call your number at a counter outside the station. Pass the sticker and documents to him. He will ask you to drive in to the area.
- Drive your car in, open the passenger door. He and his assistant will paste the sticker and check. And that’s it.
The whole process took about 1 hour. My appointment was 2pm. When i came in at 210pm,i was in the 20+ queue.
Step 4: Using the RFID tag
Coming soon.